drawing Monochrome charcoal landscapes
Updated July 2026
Why use charcoal?
Charcoal has been used as an art medium for over 30,000 years. As an art material, it is pretty basic and humble. But don't underestimate charcoal. Despite its humble appearance, charcoal is a powerful, beginner‑friendly medium. It allows deep, rich tones and a wide range of textures, making it an ideal choice for dramatic, impactful artwork. This medium offers a unique and expressive quality. Charcoal’s natural softness makes it perfect for blending and smudging, so you can create smooth transitions, atmospheric effects, and bold contrasts. Whether you’re sketching quick studies or building detailed landscapes, charcoal gives you an immediate, tactile way to explore light, shadow, and mood.
What materials do i need?
You don’t need a complicated setup to start drawing with charcoal. A simple starter kit includes:
Willow or vine charcoal
Kneaded eraser
Drawing paper
Charcoal types:
Charcoal comes in many forms: compressed sticks, pencils, blocks, etc. Willow or vine charcoal is ideal for beginners.
Erasers and blending tools:
A kneaded eraser lets you lift out highlights and create details. For smudging, you can use:
Fingers (very direct, but messy)
Tissue paper (e.g., Kleenex)
Blending stumps or cotton pads
Experiment with different tools to see how each one affects the softness and texture of your marks.
Paper choice:
Charcoal works on many surfaces, so don’t let paper choice hold you back. Consider:
Surface texture
Paper color:
There is no single “correct” paper for charcoal, only personal preference. Be brave, try different papers, and notice how each one changes the look and feel of your drawings.
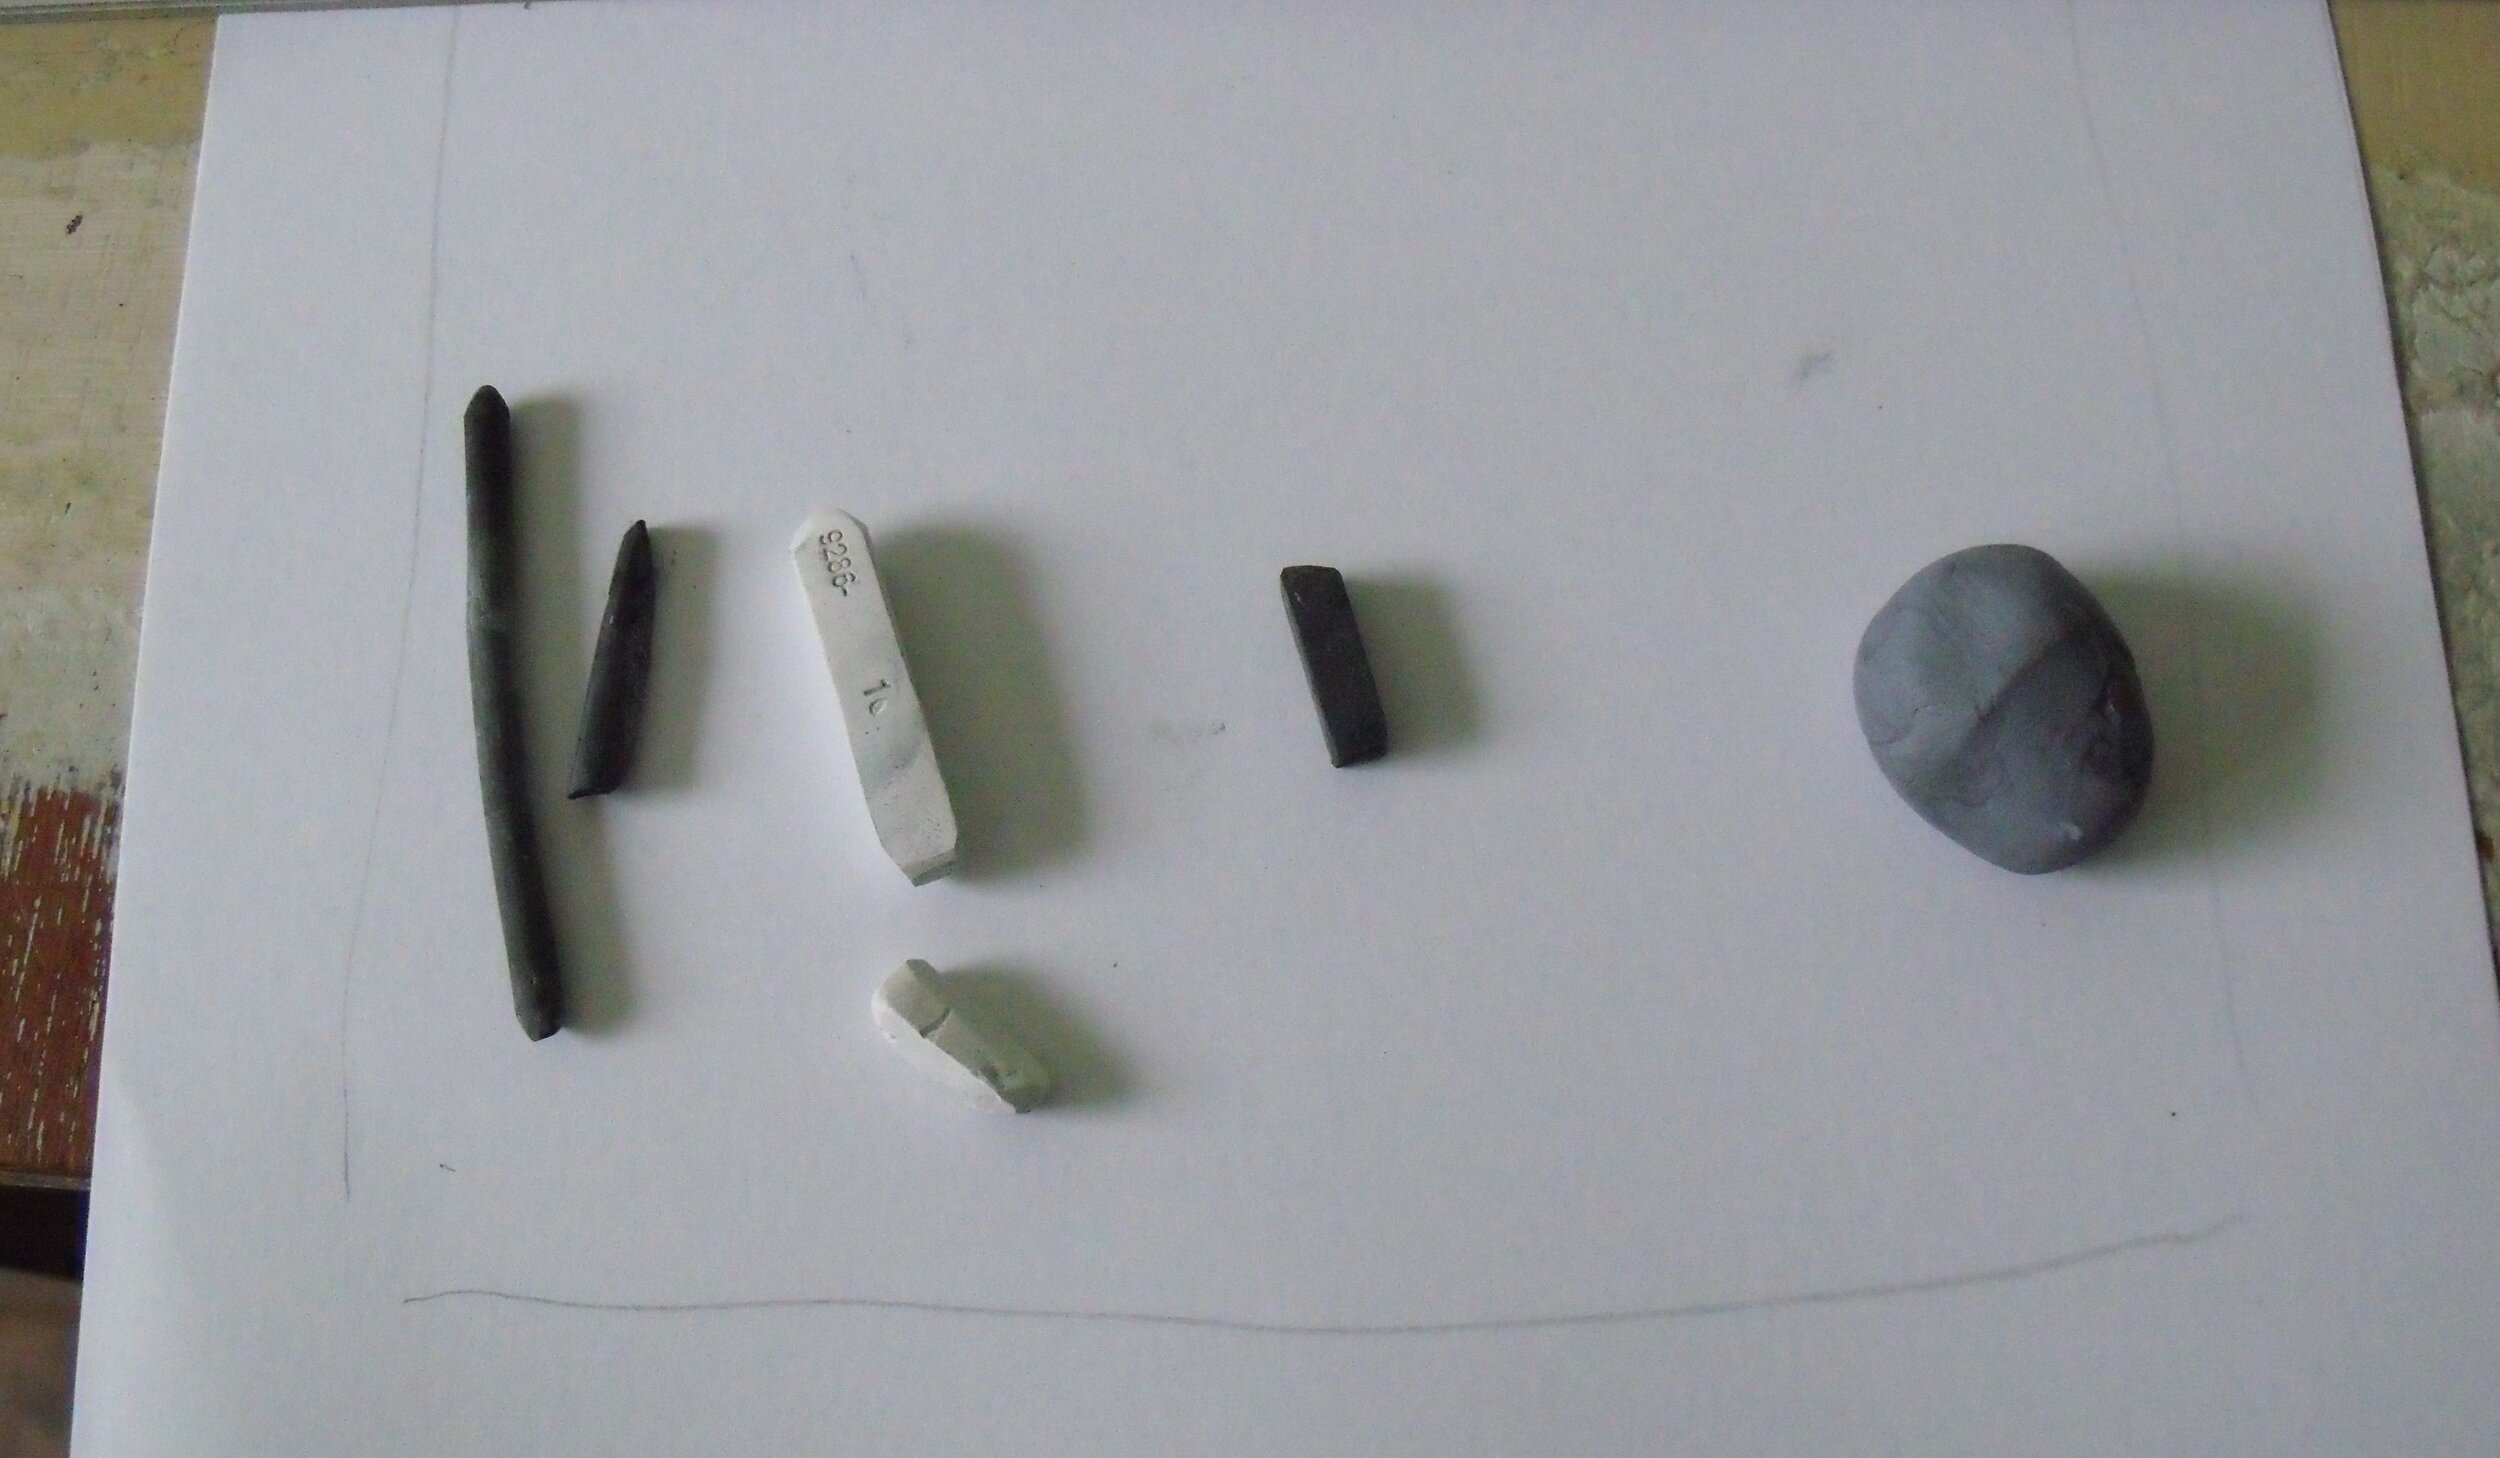
Materials
How do i get started?
The most important rule is simple: pick something and start drawing. Avoid getting stuck in “analysis paralysis” over materials or techniques.
At the beginner stage, the subtle differences between charcoal types don’t matter nearly as much as the act of drawing itself. Focus on exploring how the charcoal behaves—how it smudges, erases, and layers—rather than chasing the “perfect” tool.
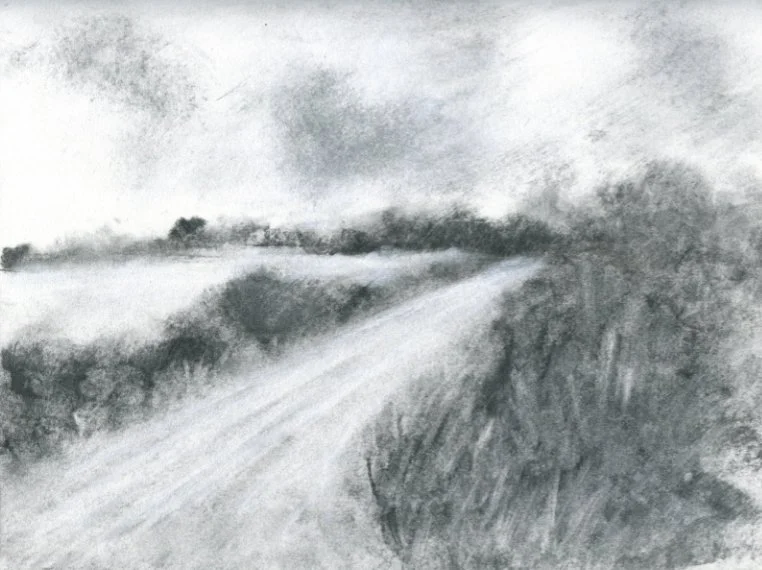
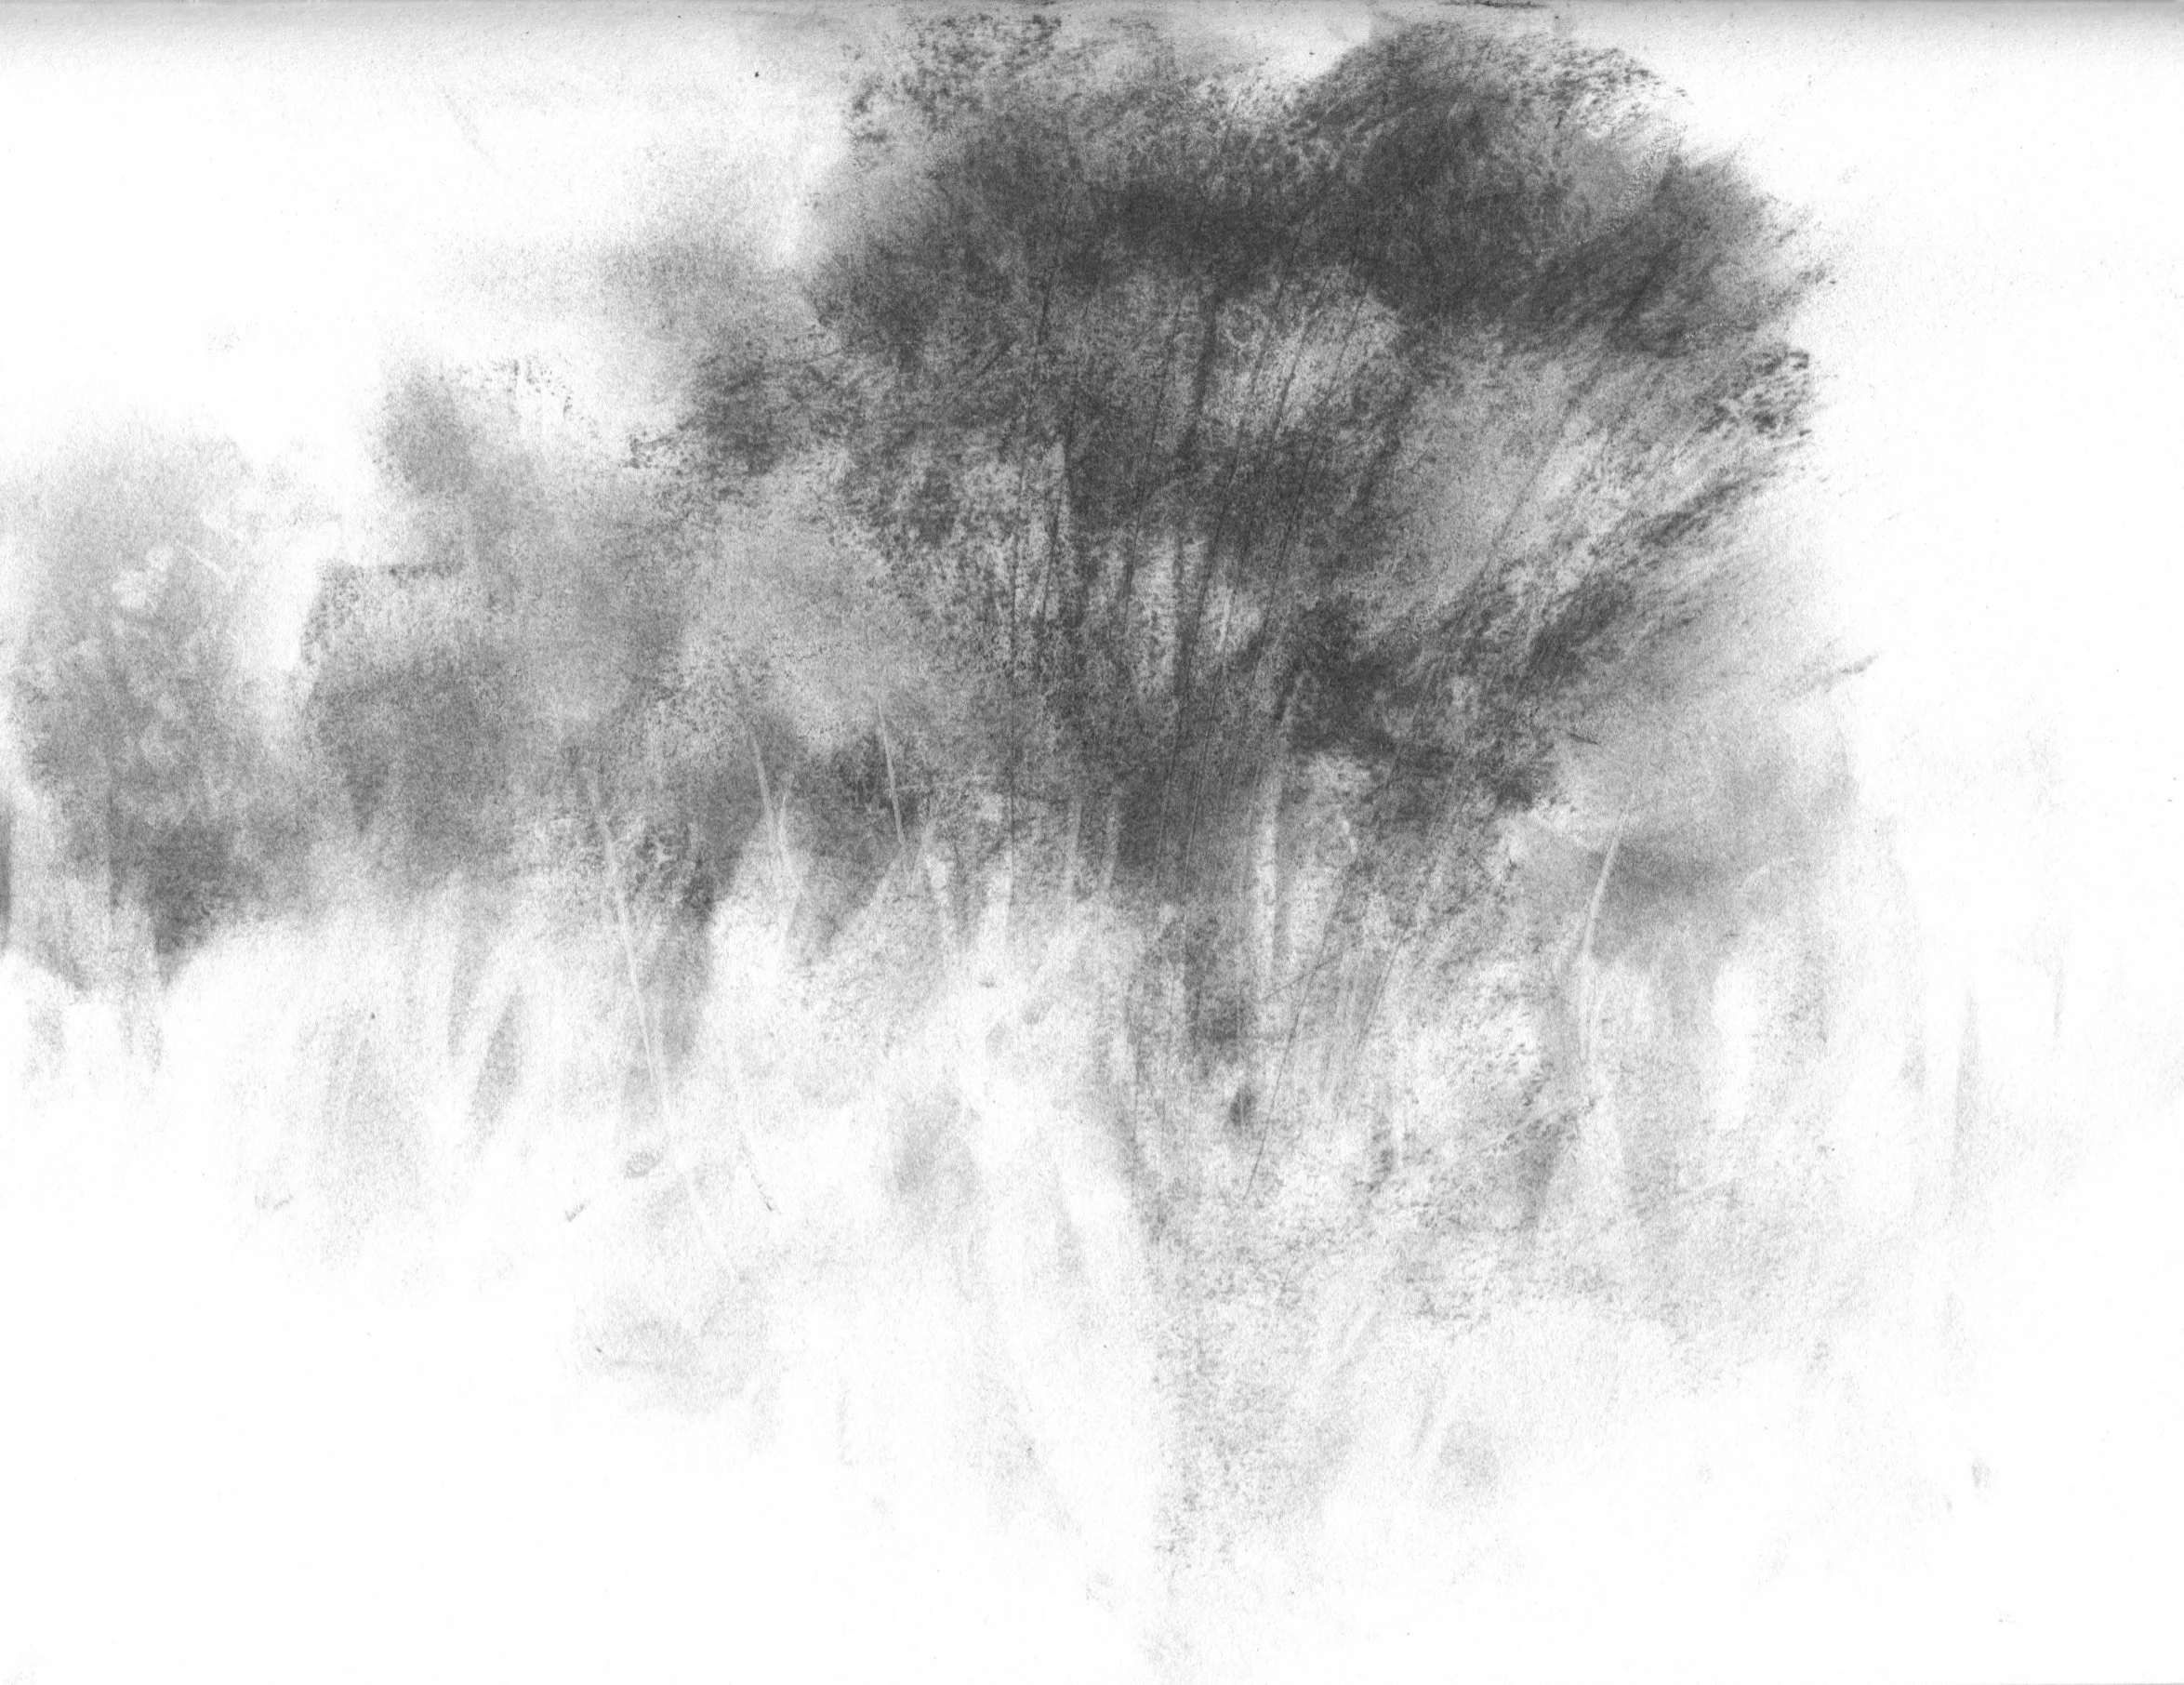
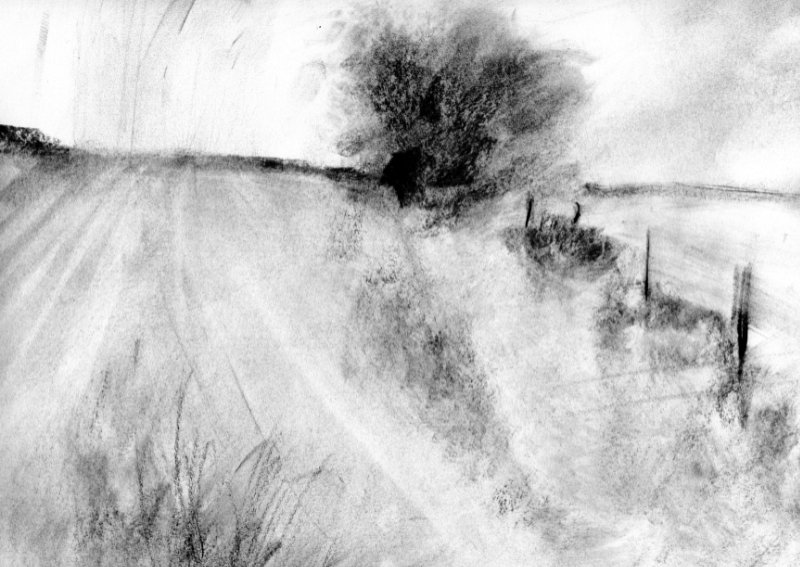
Here are some examples for inspiration:






What should I consider while drawing?
1. Values (light and dark)
Charcoal drawing is all about values: black, white, and the greys in between. Use these values to define shapes and mood.
Think in big shapes first:
Block in clouds, trees, hedgerows, hills, and sky as simple masses.
Decide where your horizon line will sit—high, low, diagonal, flat, or uneven.
Establish mood through the sky:
Soft, fluffy clouds in a bright sky suggest calm, summer light.
Dark, heavy clouds create tension, drama, or a stormy atmosphere.
Once the large shapes and value structure are in place, you can gradually refine details without losing the overall impact.
2. Composition and focal point
Consider how you want the viewer’s eye to move through the drawing.
Focal point or open composition:
Adding large trees, buildings, animals, or figures can create a clear focal point.
A more open landscape without a strong focal point can feel spacious and contemplative.
Balance and flow:
Use contrasts in value (light against dark) to guide attention.
Arrange shapes so the eye can travel comfortably through the scene.
A focal point is optional—what matters is that your composition supports the mood you want to create.
My Approach
I often work from imagination and memory rather than relying heavily on photographic references. References can be useful, but they can also become discouraging if you constantly compare your drawing to the original image.
If you struggle with perfectionism:
Let go of exact proportions and photographic accuracy.
Draw from imagination, memory, or quick observational impressions.
The more you experiment and play with charcoal, the more confident you’ll become. Allow yourself to make bold marks, try new techniques, and accept that not every drawing needs to be “perfect.” Embracing imperfection builds creative confidence and makes the drawing process more enjoyable and sustainable.
A step by Step example:
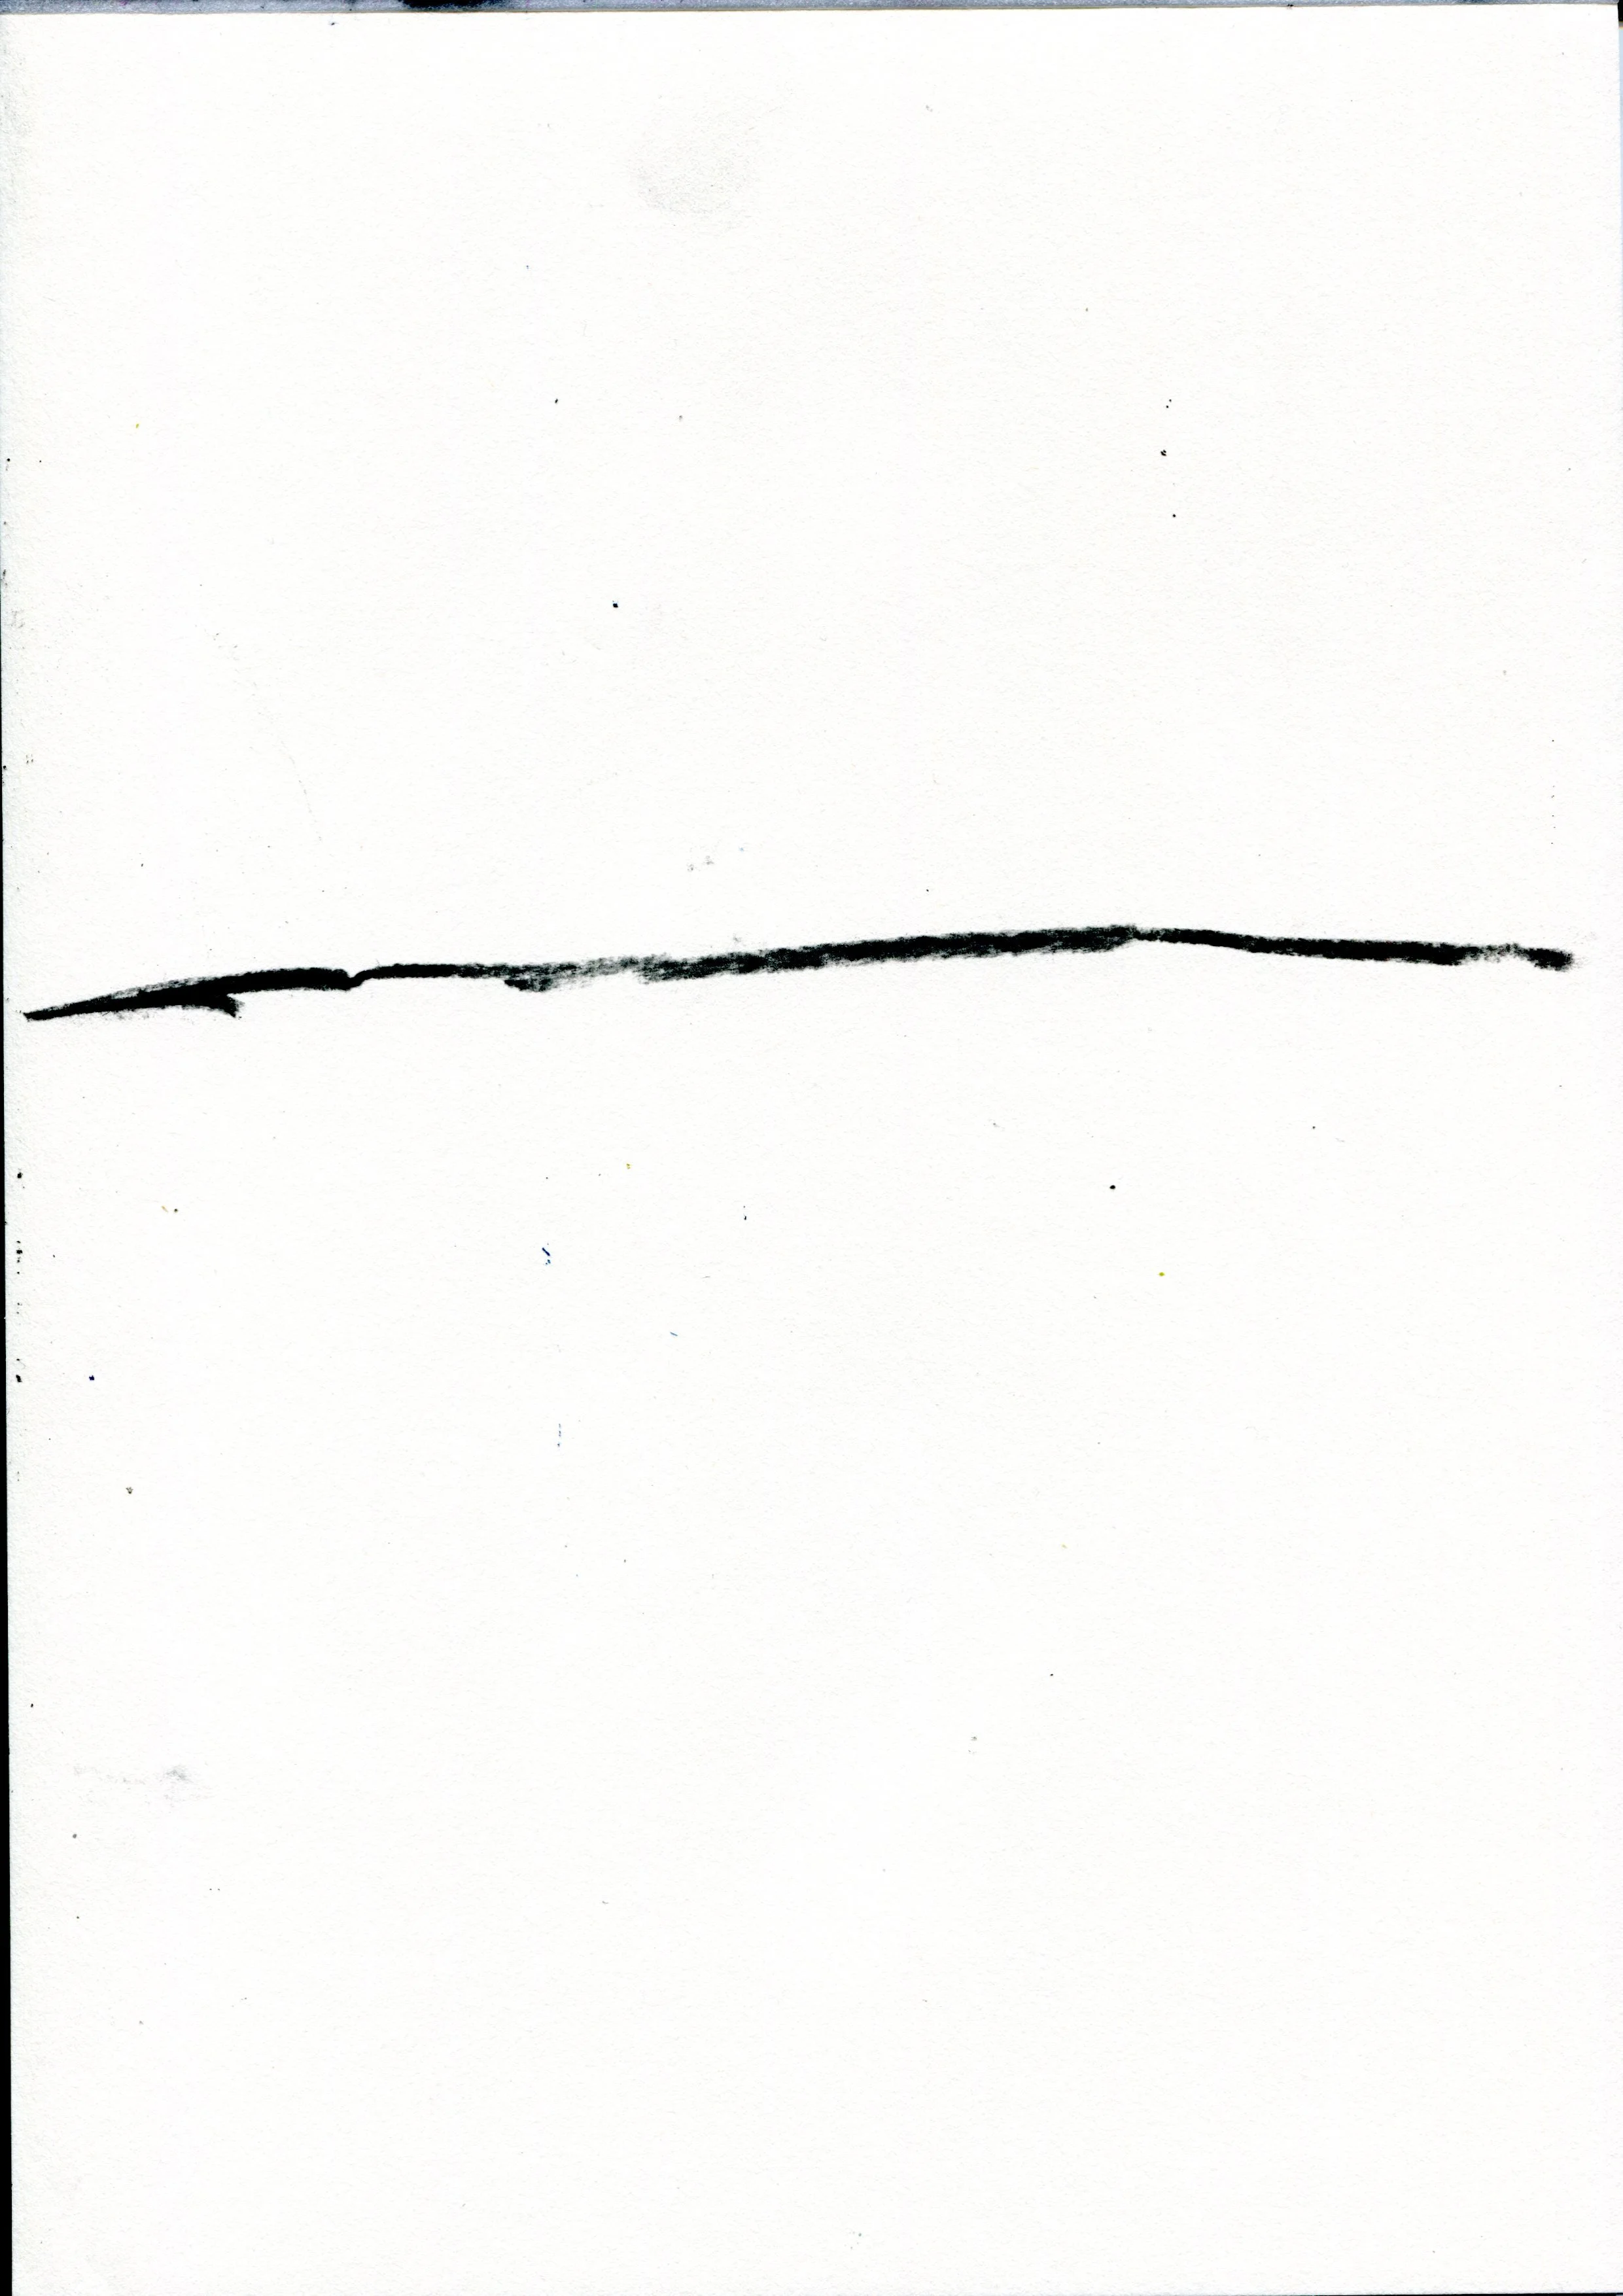
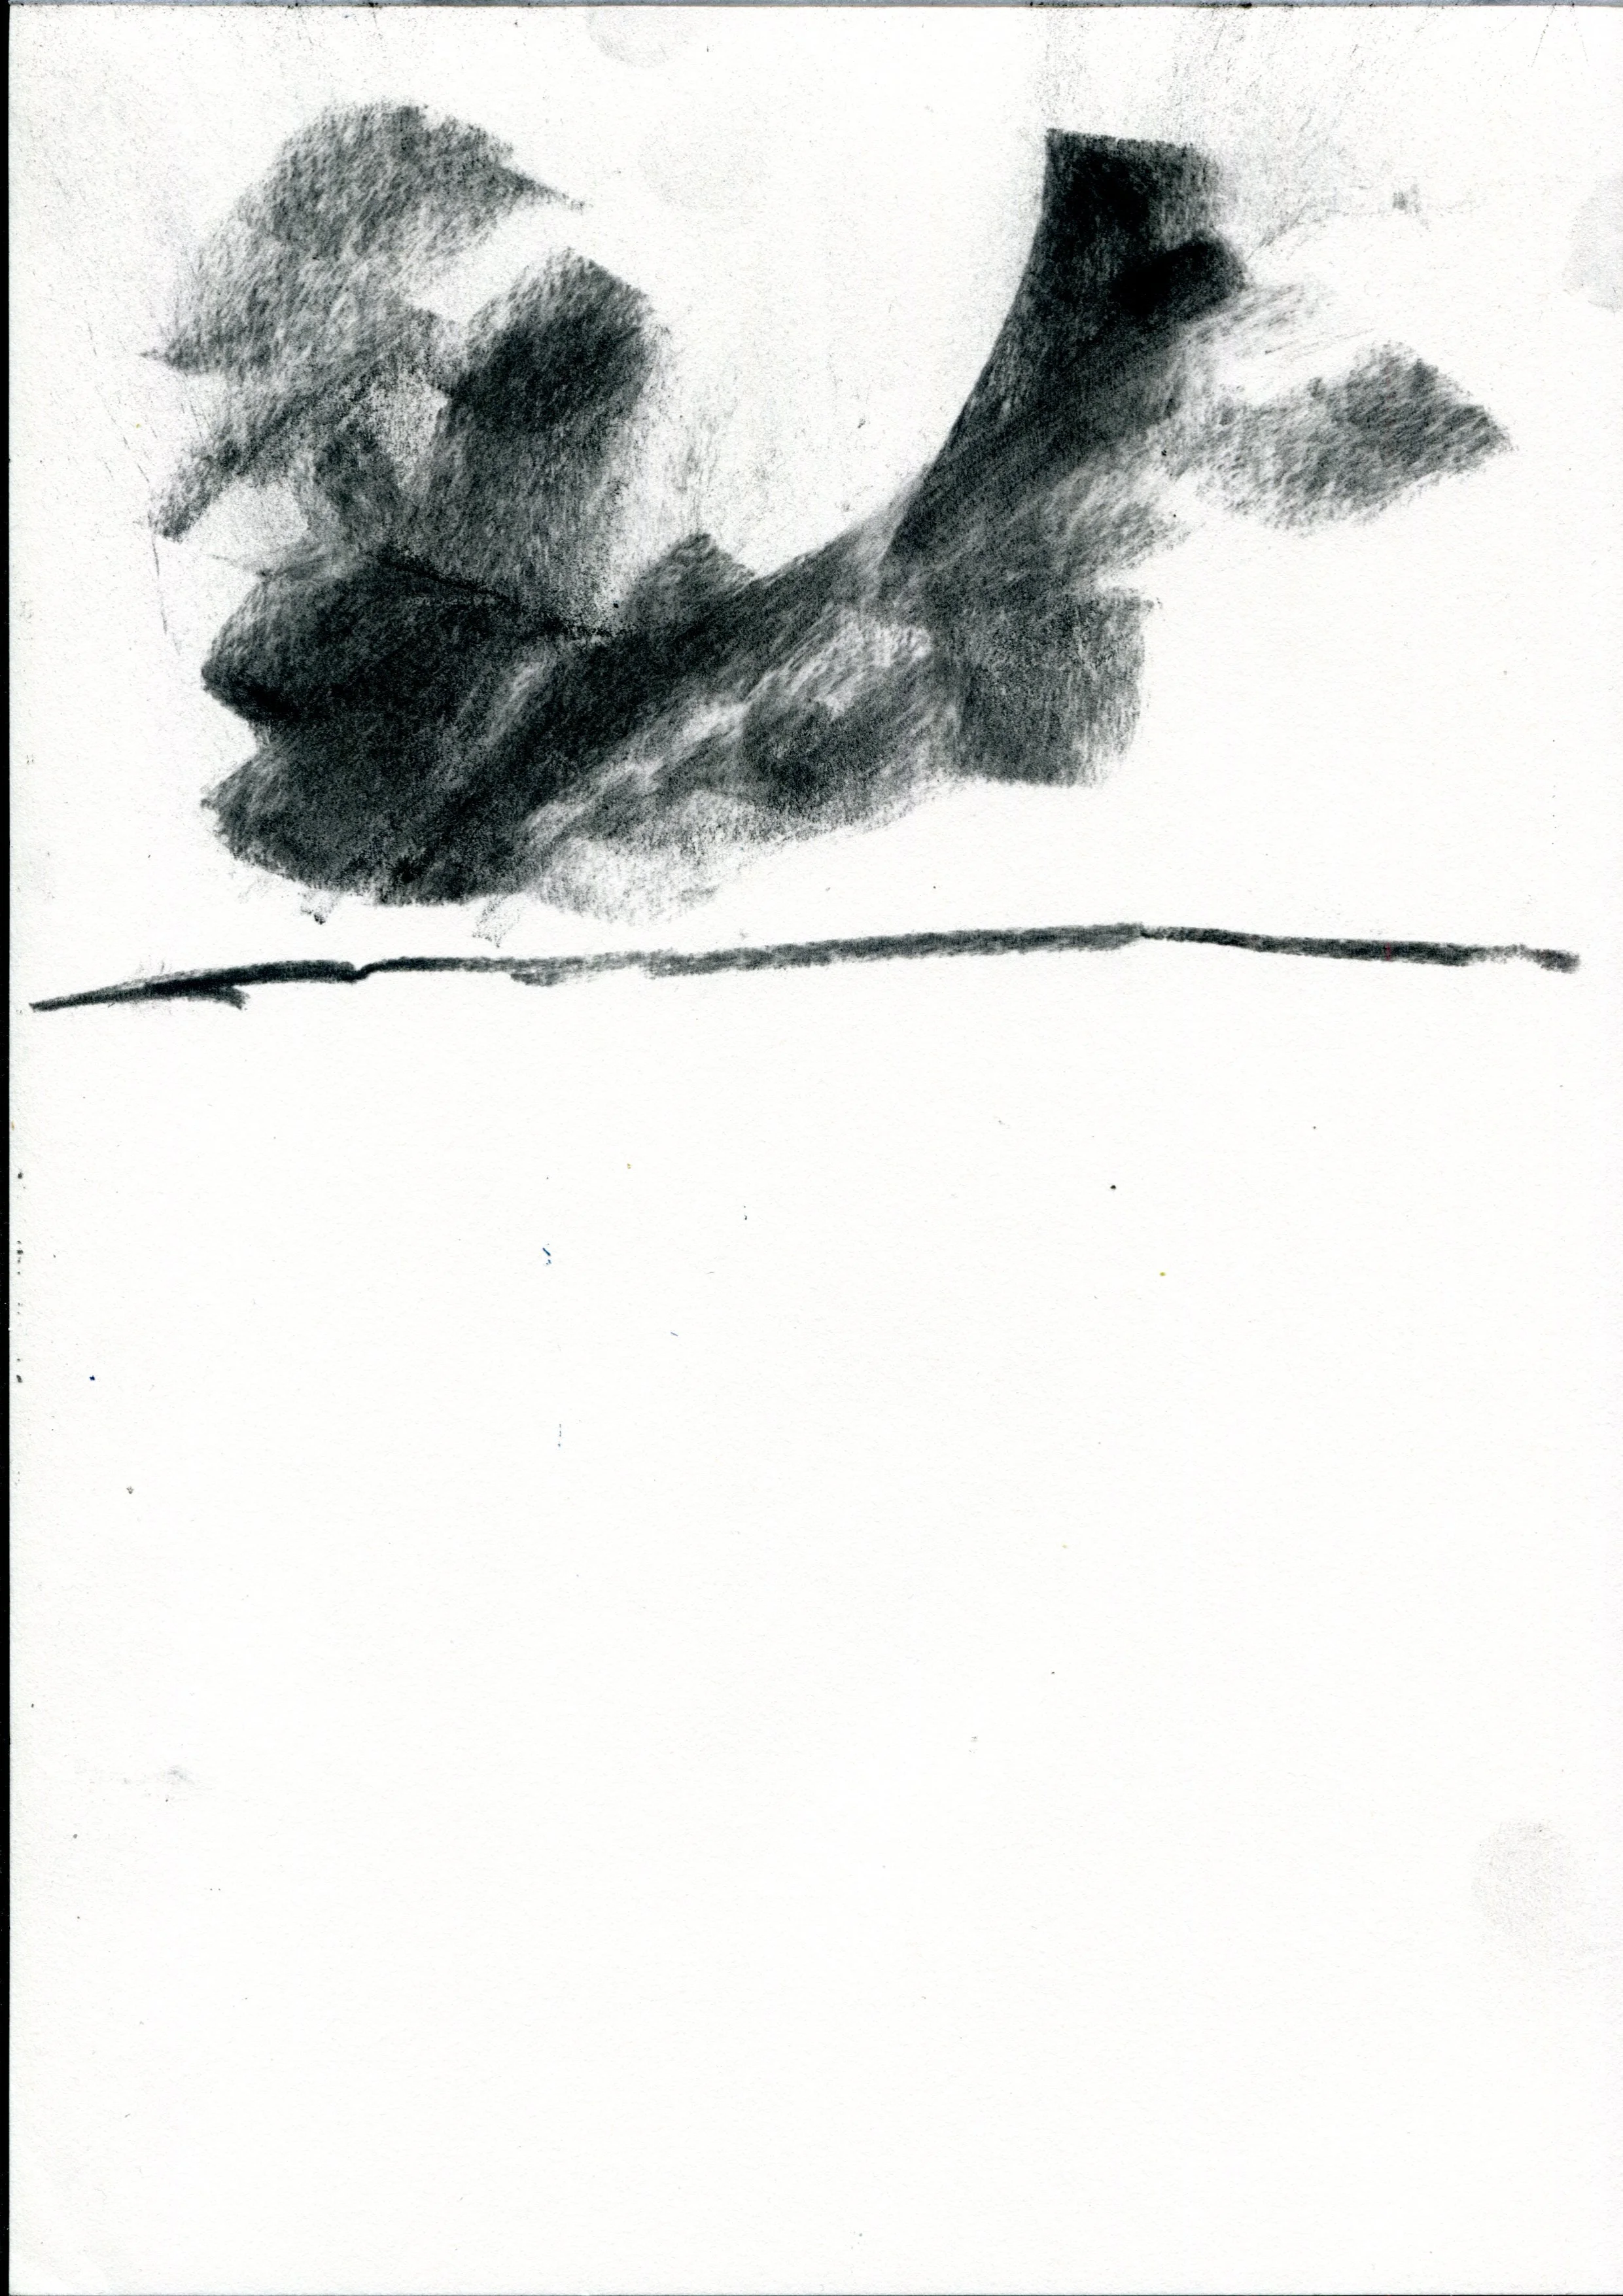
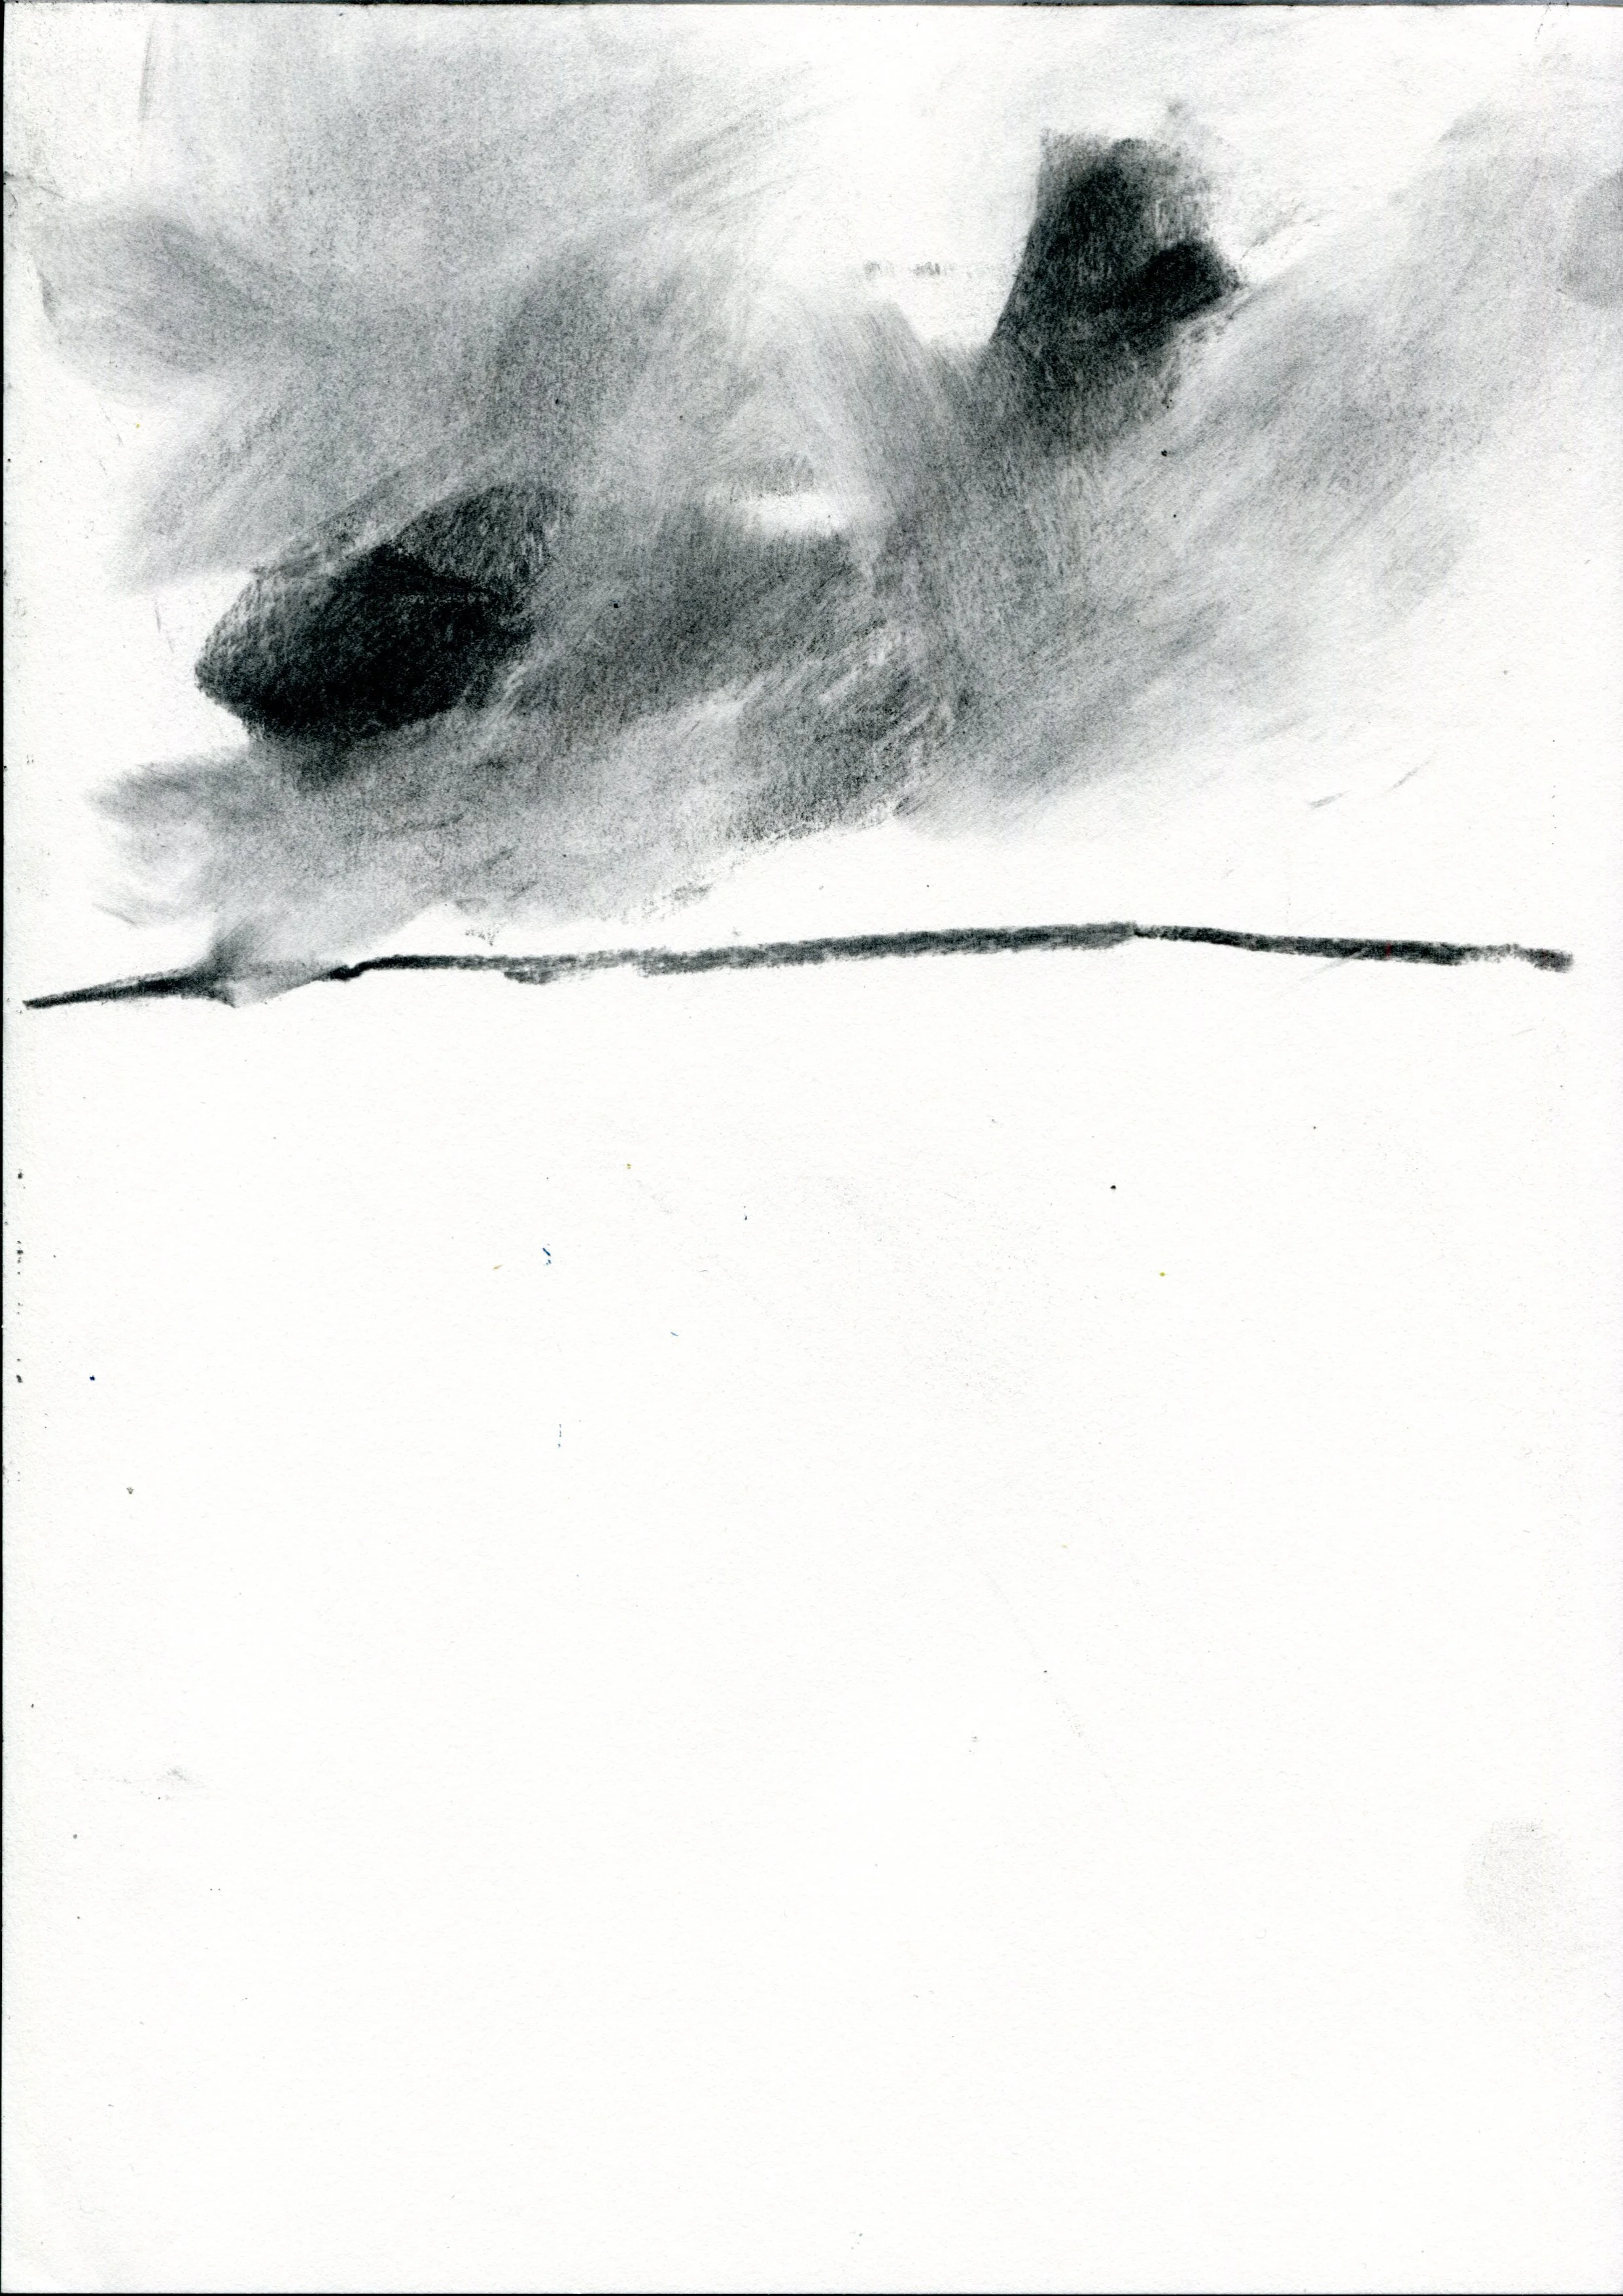
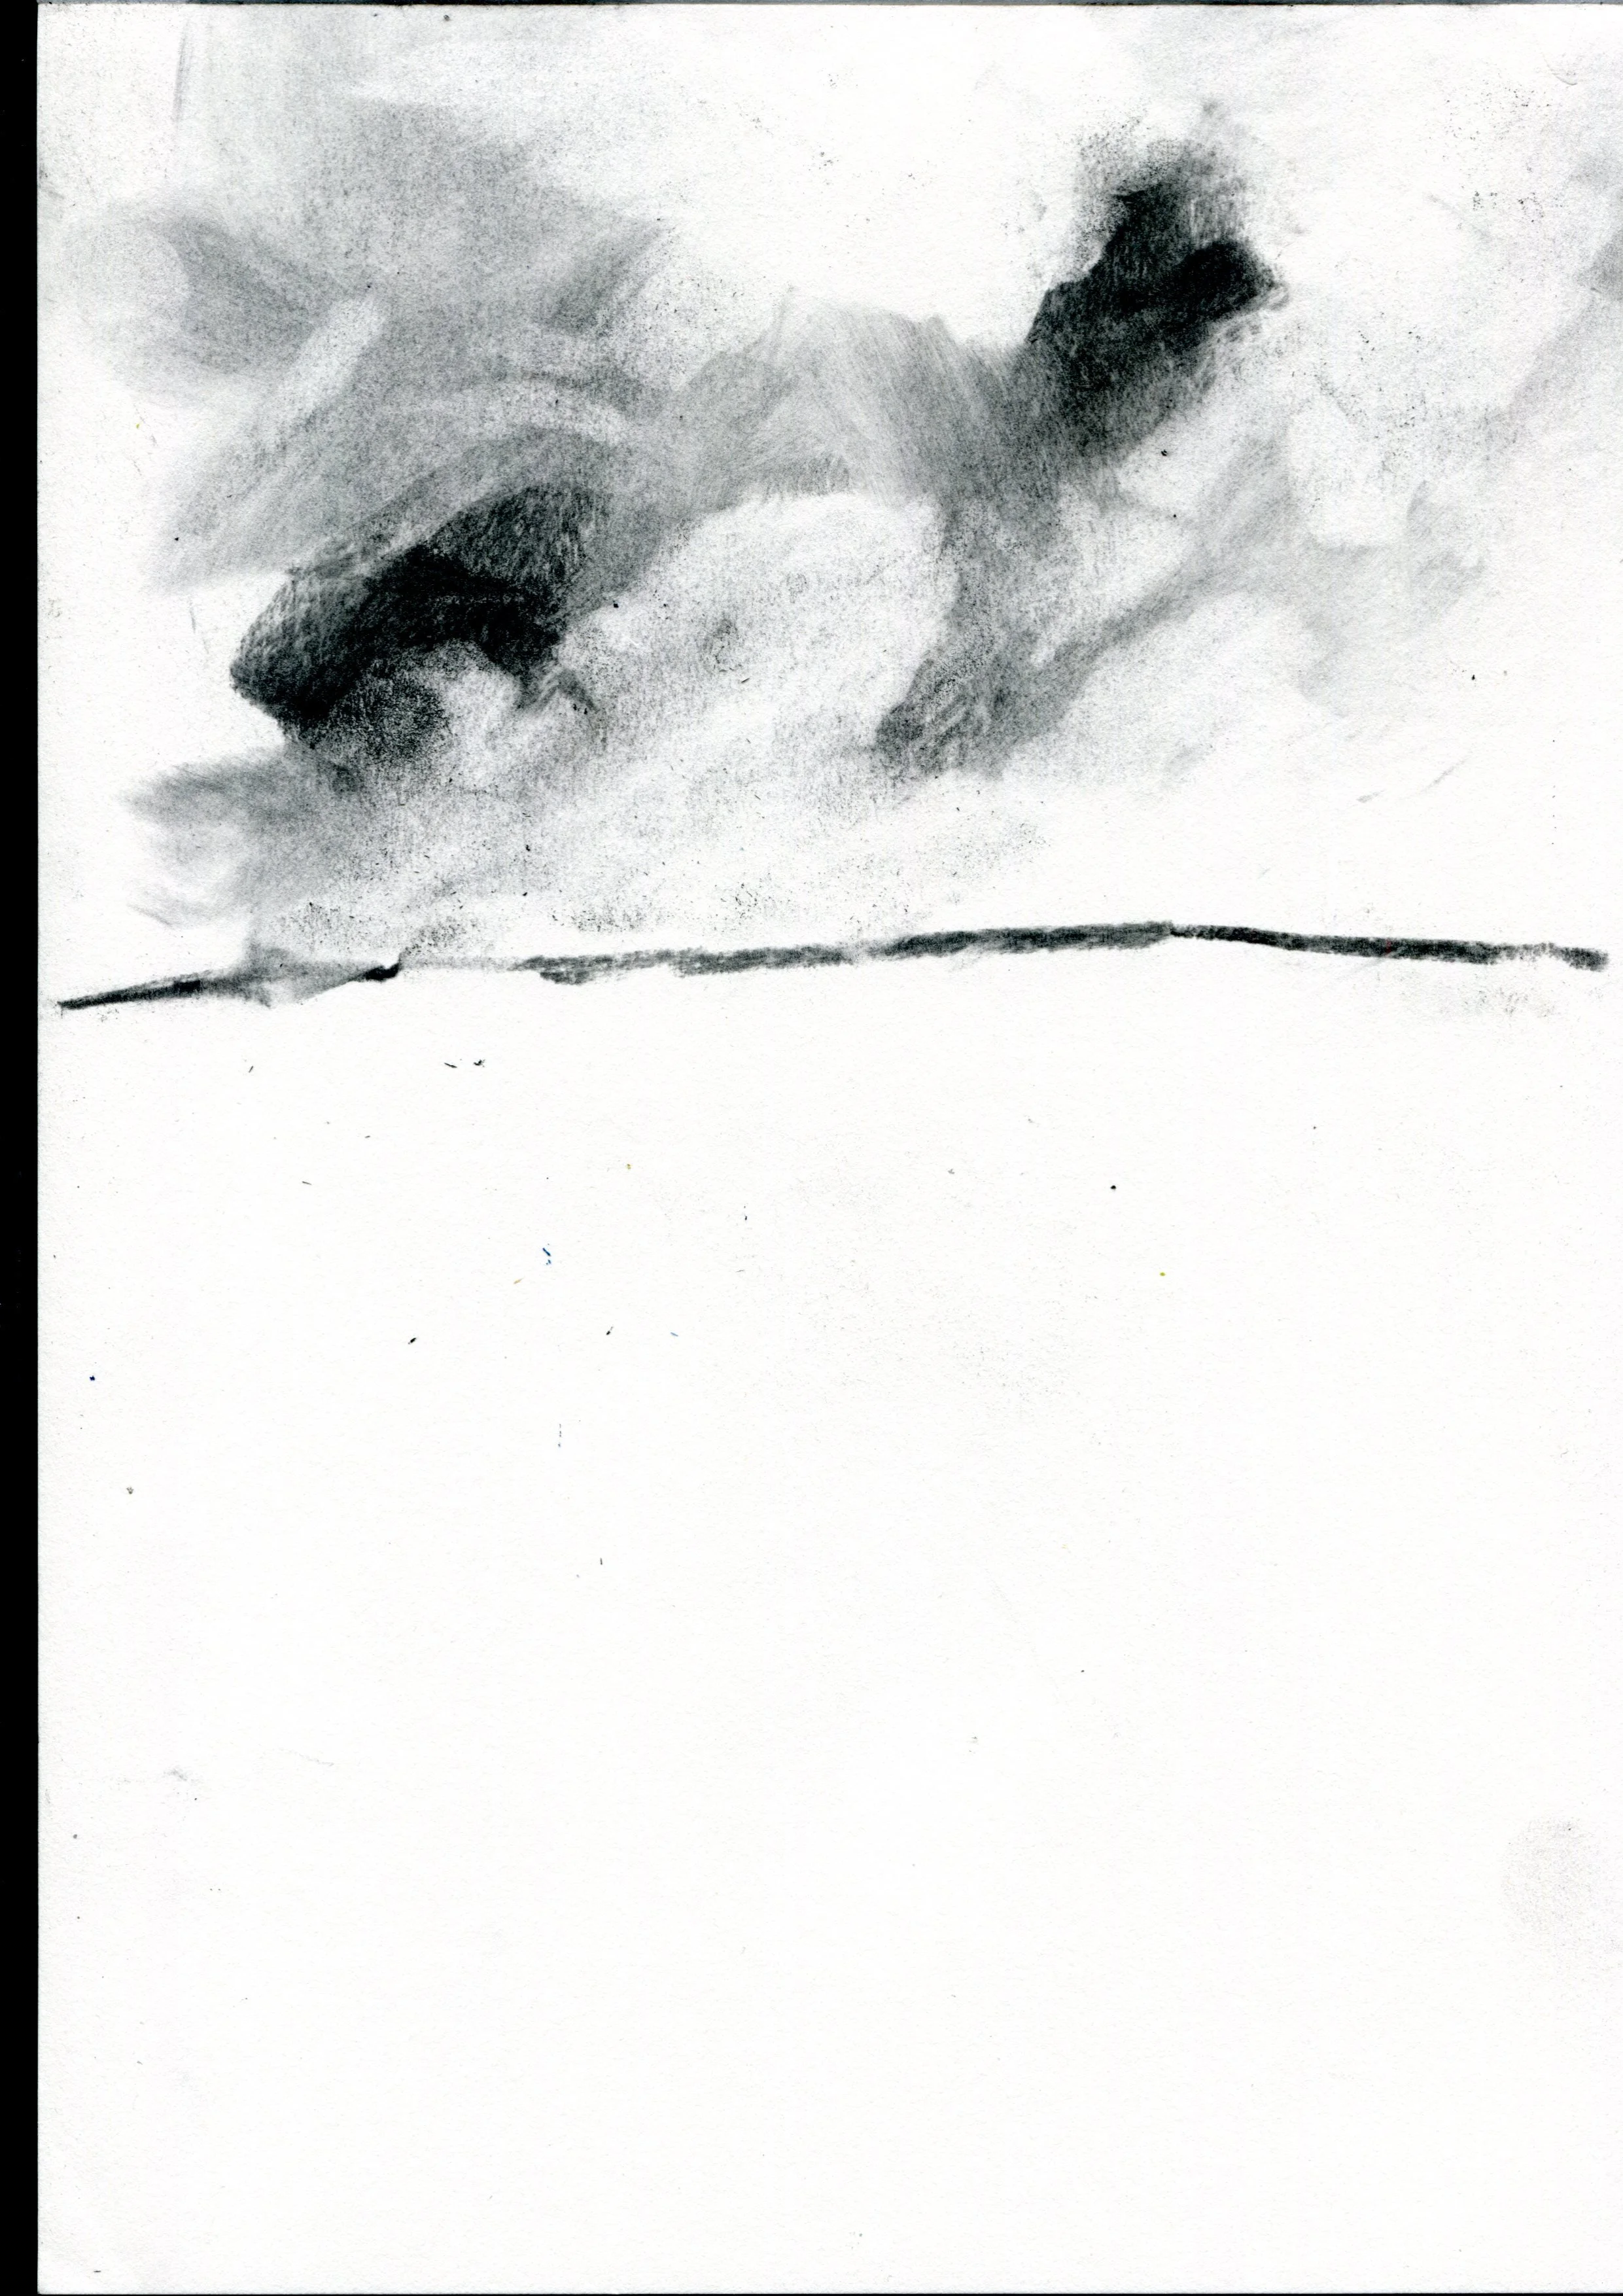
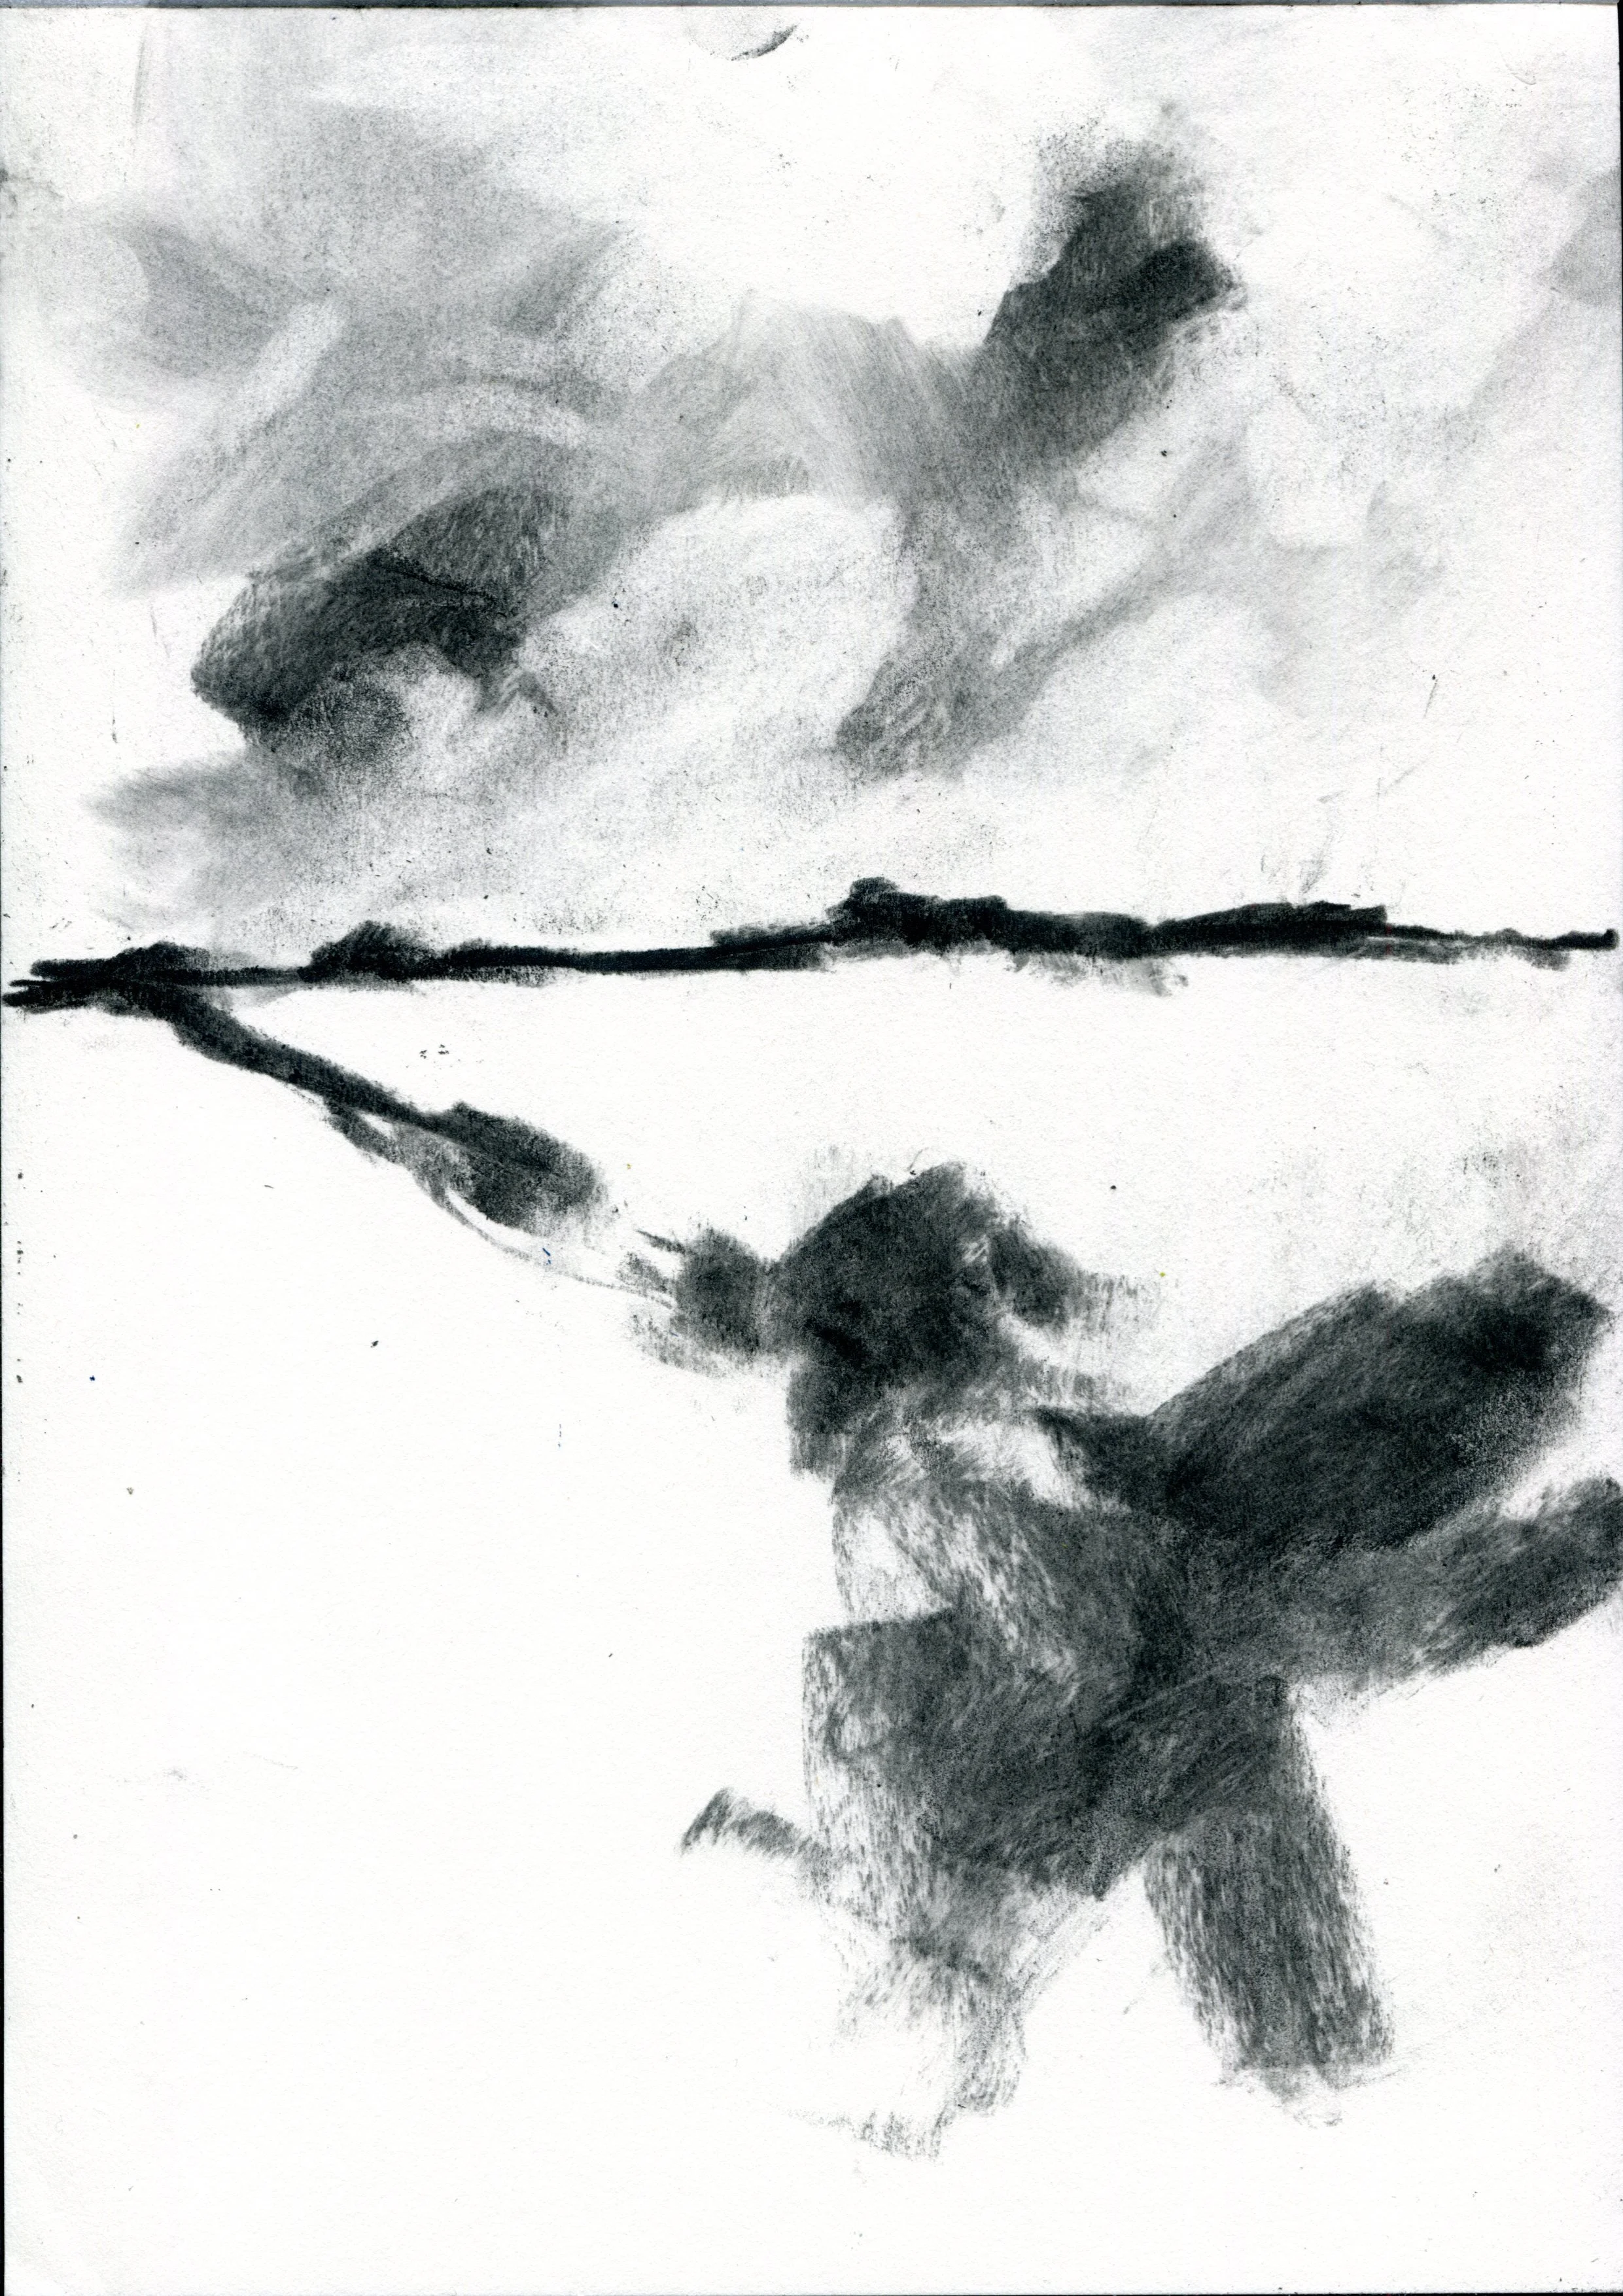
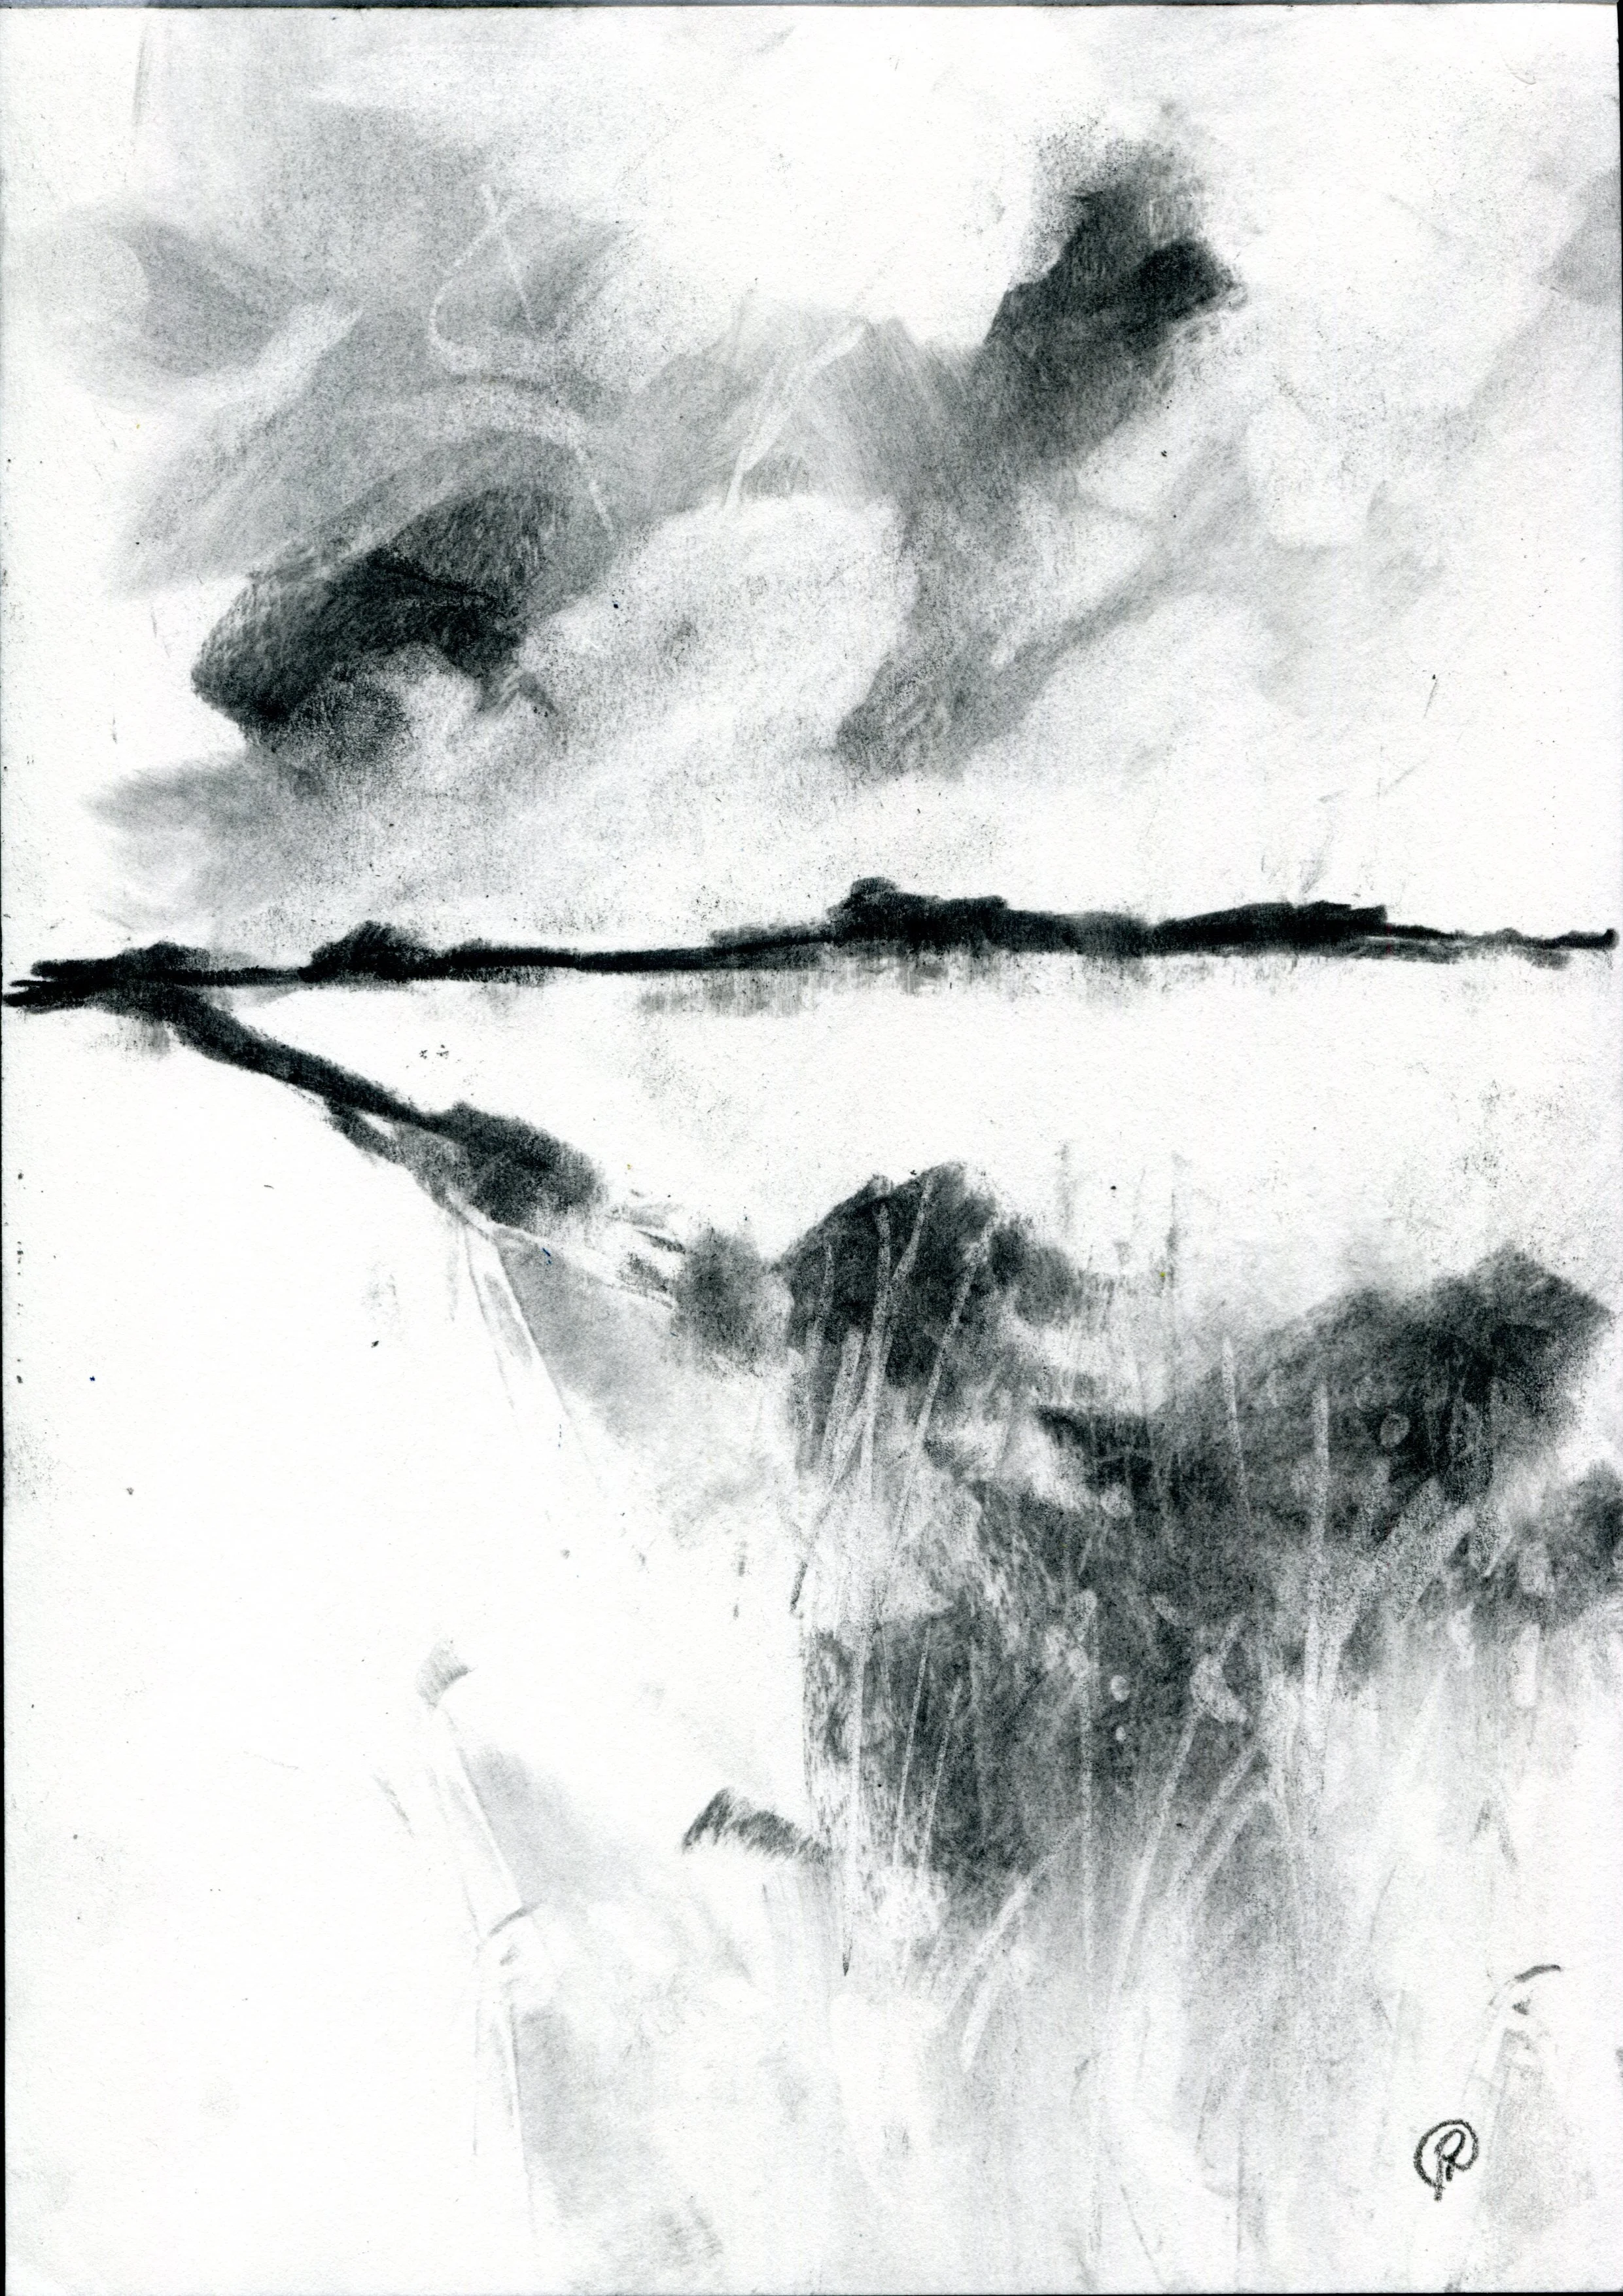
Here’s a simple way to begin a charcoal landscape:
Place the horizon line
Draw a horizon line near the top left (or wherever feels right for your composition).
This immediately divides sky and land and gives you a sense of space.
Block in the sky
Apply charcoal loosely across the sky area.
Smudge the charcoal to create a soft, atmospheric base.
Use the kneaded eraser to lift out cloud shapes—light areas against the darker sky.
Develop the middle ground and foreground
Add charcoal to the land areas below the horizon.
Smudge to suggest fields, hedgerows, or distant trees.
Use the kneaded eraser to pull out highlights and textures—paths, tree edges, or light catching on grass.
Refine values and details
Deepen darks where you want more drama or contrast.
Adjust mid‑tones and highlights to clarify forms and mood.
Keep stepping back from the drawing to check the overall balance of light and dark.
My online course:
Learn to draw landscapes with confidence. Get practical, beginner-friendly video lessons with my online course on Udemy.